Professional lash artists know that safe removal is one of the most important parts of the lash extension service. Clients often ask how to remove eyelash glue or how to dissolve eyelash glue at home, but this process must always be performed by a trained professional only. Eyelash extension adhesive is designed to create a firm bond that lasts through moisture, movement and daily wear. Removing it without the right products or technique can cause lash loss, irritation, corneal burns and long term damage to the eye area.
This guide walks professional lash artists through how to remove eyelash glue from eyelashes safely while protecting the clients natural lashes and eye health.
1. Prepare a clean organised workstation
A clean setup protects both the client and the result. Wash your hands. Disinfect your tools. Ensure your eye pads, micro brushes, and remover are set up within reach. A calm and orderly workspace helps you work with precision and keeps your client comfortable during the removal.
2. Assess the clients lash set and adhesive strength
Before applying remover, identify the type of set they are wearing. Check the bonding points. Check for stickies or outgrown lashes. This gives you a clear understanding of how much adhesive you are working with and how long the remover will need to sit. This step is essential when understanding how to remove eyelash glue without tension on the natural lash.
3. Apply a professional gel or cream remover
This is the safest and most controlled method for lash artists. Apply a small amount of gel or cream remover to the base of the extensions using a micro brush. Work with slow and gentle movements to avoid contacting the skin. Allow it to sit for the recommended time on the product label. The formulation will begin to dissolve eyelash glue by breaking down the cyanoacrylate bond. Never rush this part of the service.
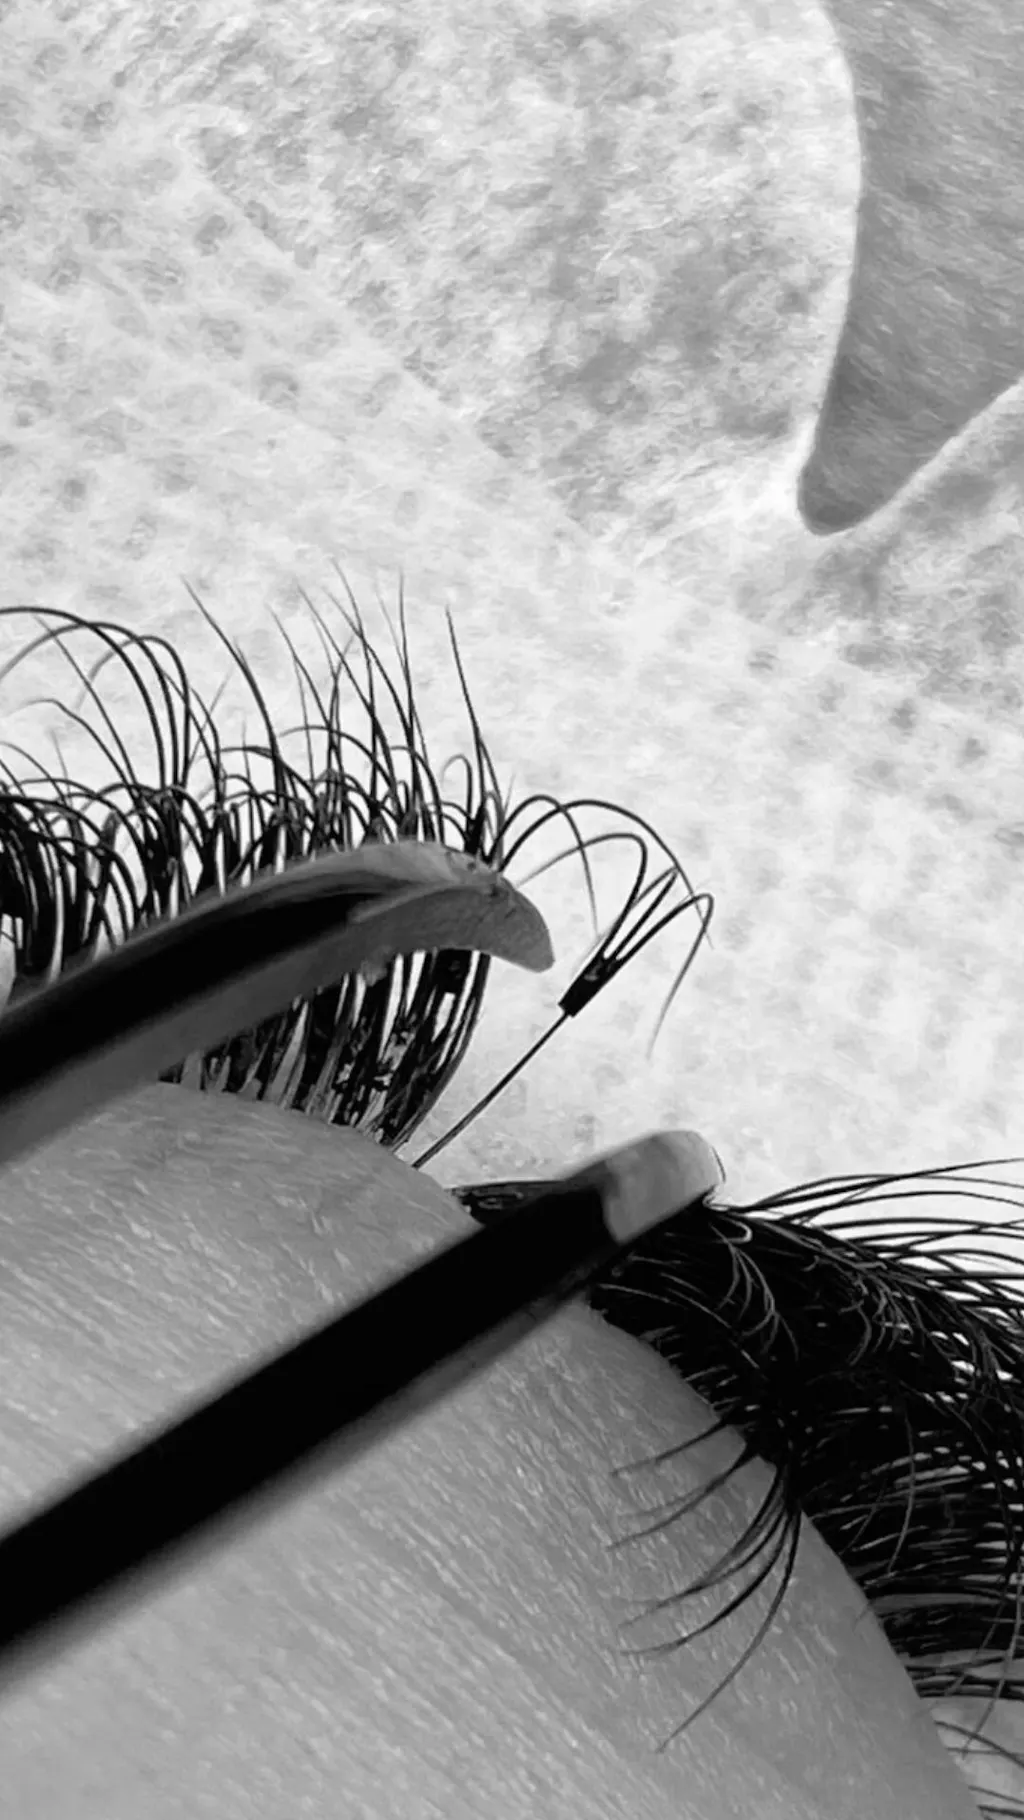
4. Break down the adhesive and slide extensions away
Once the remover has softened the bond, work through the lashes with clean micro brushes and isolate small sections. Extensions should slide off without resistance. If you feel tension, stop and add more remover. This is the correct technique for any professional asking how to remove eyelash glue from eyelashes without causing stress to the natural lash.
5. Remove residual adhesive
After the extensions have lifted away, check the lash line carefully. Use a fresh micro brush with a small amount of remover to dissolve any remaining adhesive. Take your time through the inner and outer corners. Clear removal supports better retention in the clients next appointment and maintains lash health.
6. Rinse and cleanse thoroughly
Rinse the natural lashes with saline solution. Follow with a gentle lash cleanser to remove all product residue. This step prevents irritation and prepares the lashes for their next set or a lash break if required.
7. Finish with lash nourishment
Apply a conditioning lash serum or recommend at home care to support lash strength. Healthy lashes support long term retention and client satisfaction.
Professional removal protects your clients and your work
When clients ask how to dissolve eyelash glue or how to remove eyelash glue at home, remind them that safe removal is a professional service. As a trained lash artist, you protect the integrity of their natural lashes through proper remover selection, timing, and technique. Safe removal is a core part of premium lash care and builds trust with every client you see.