If you are just starting out your journey as a lash technician, then you definitely need to build up a good starter kit that is both comprehensive and professional so you can start offering treatments right away. At Lavilash, our beginner lash training kit not only comes with all the essential tools you will need, plus high-quality eyelash extensions and adhesives, but also provides you with educational resources so you can gain access to expert guides and tutorials that will build your confidence and enhance your skill in no time.
If you prefer to build your own lash kit, then there are certain basic materials you need so you can start creating stunning eyes right away. Always make sure you buy your products from a reputable dealer that can provide you with high-quality products from the start, because you don't want to cause your clients irritation or allergies from using cheap products.
Here's The Basics...
- Lash primer - let's start at the very beginning, and always think about priming the natural lashes before you do anything else. This will help maintain them and make them suitable for the adhesive.
- Lash adhesive - make sure you ask your client about any sensitivities or allergies they may have before applying any adhesive, and always ensure you use a professional-grade glue with fast drying time and superior retention to give you the best results.
- Gel remover - there's no point in being able to put them on if you can't take them off! A quality gel remover will help you to safely and gently remove the lash extensions without damaging the natural lashes.
- Lash tape and pads - again, use a good quality that is kind to your client's eyes and skin, as you will be needing these to protect the lower lashes and create a work space, preventing you from accidentally gluing the lower lashes to the upper lashes during application.
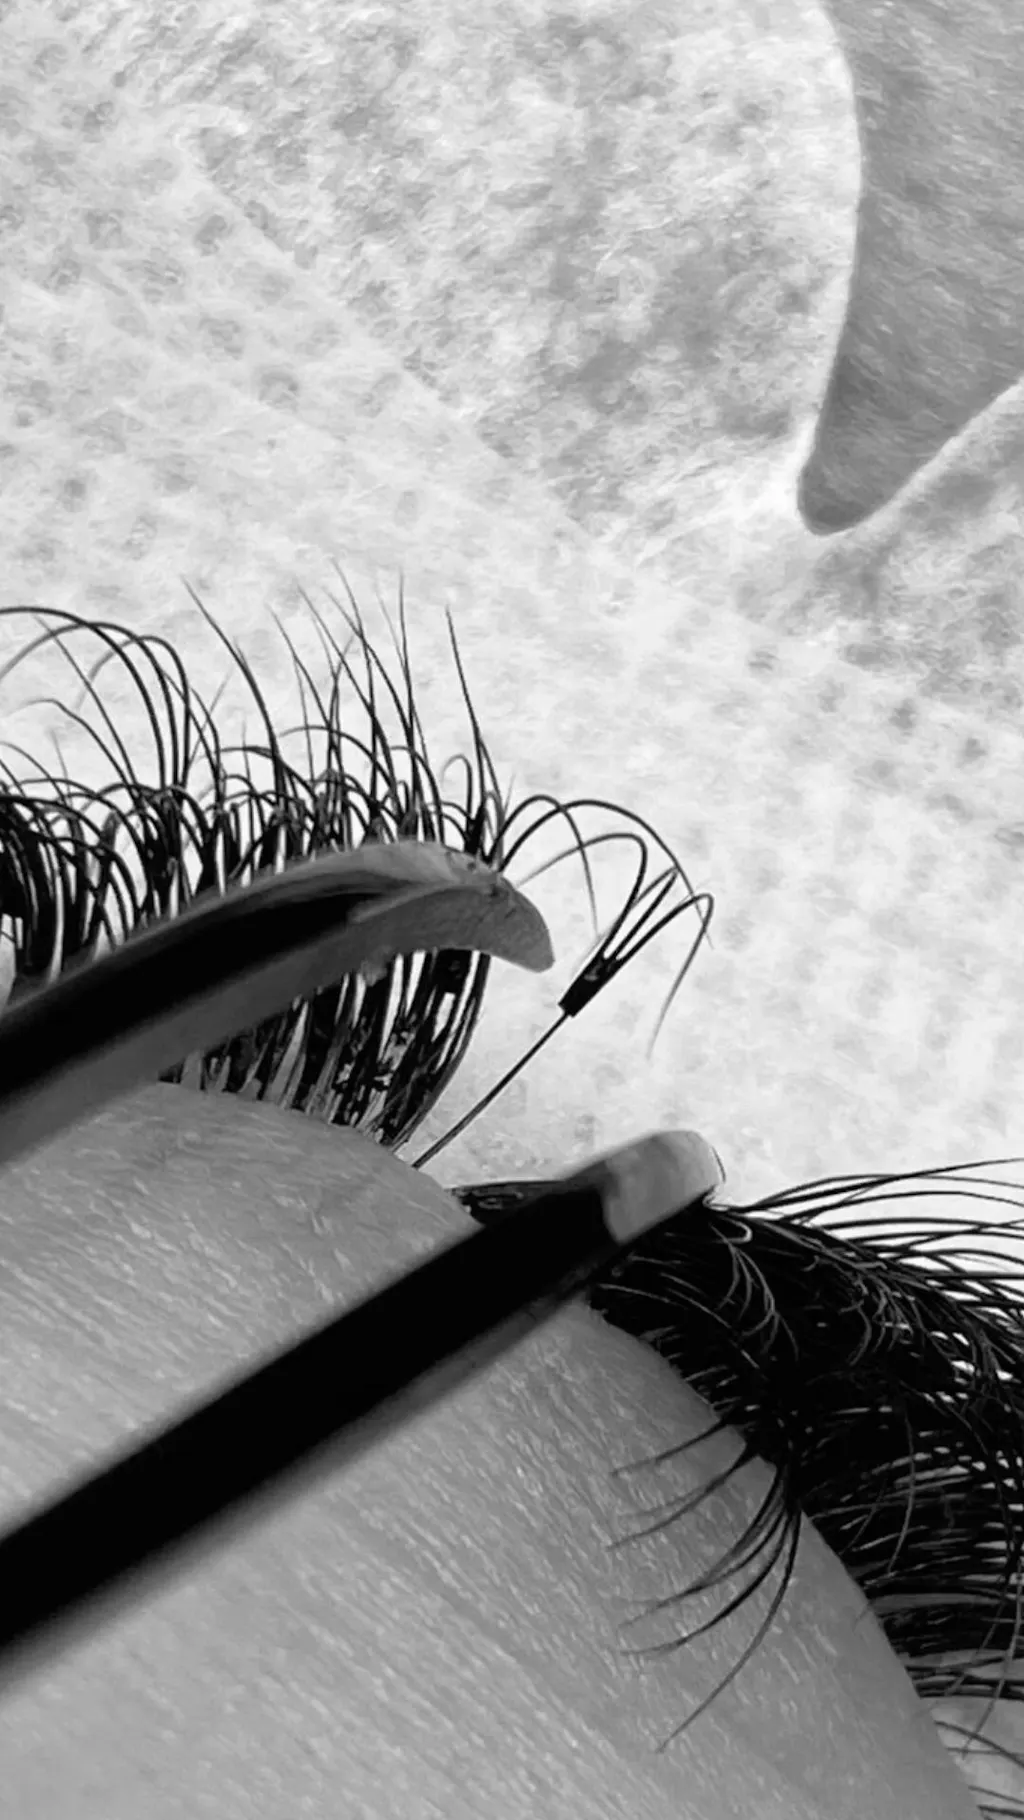
- Tweezers - it is way too fiddly to apply lash extensions without tweezers! We recommend starting with two pairs: a curved and a straight pair for precision lash application.
When you are building your first kit there are other items you may find useful too, like an adhesive holder, which will prevent the glue from drying out and keep it fresh as initially you may need extra time to apply the lashes, and a lash tile; a handy piece of glass to place your lashes so you don't lose them during the application. Mascara wands and micro-brushes will help you with detailed work and aftercare, and a lash map can help you plan and execute perfect lash placement.
Don't Forget the Lashes!
Now you've got a basic kit together, you need to have a selection of lashes so you can start practising and creating. People like options, and at first, you are not going to know what is popular with your clients, so make sure you have a range of lashes in different colours, styles and thicknesses. You can order classic lash trays with a mix of length, C and D curl and different thicknesses to start experimenting, and individual lash clusters can make a good starting point before you progress to more intricate extensions.
Practice makes perfect, and perfecting your technique will ensure you apply lashes in a safe and effective manner, and always prioritise your client's comfort. It is also a useful idea to keep client record forms from the start, so you can track your client's preferences and your progress.